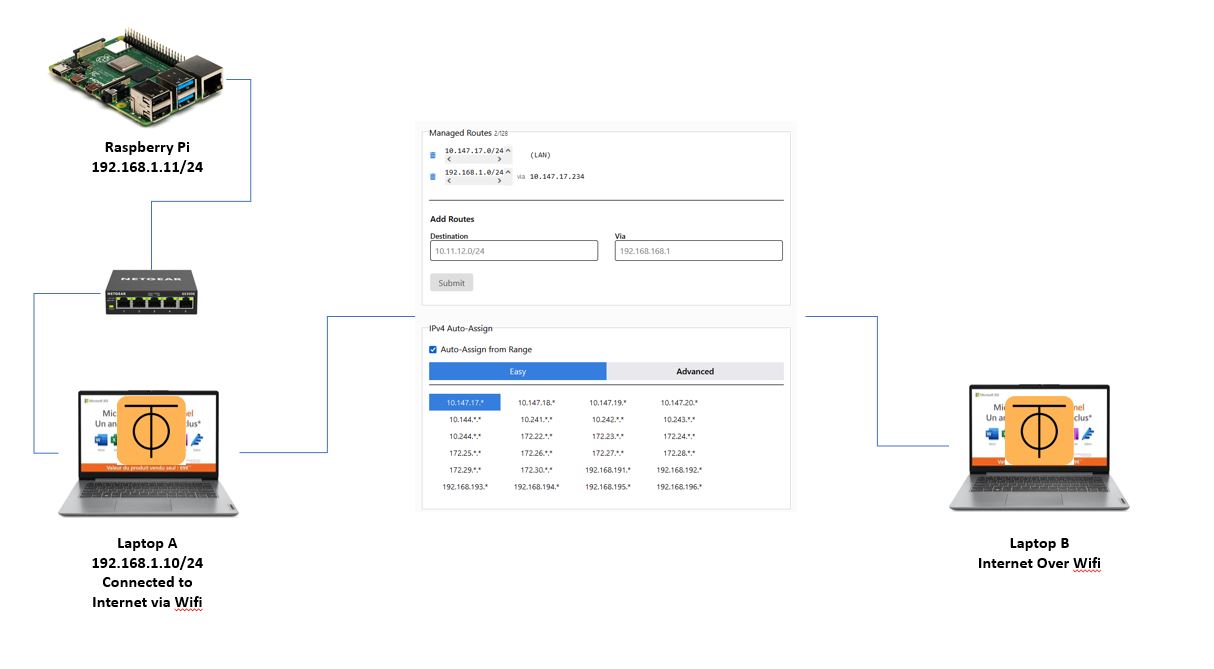
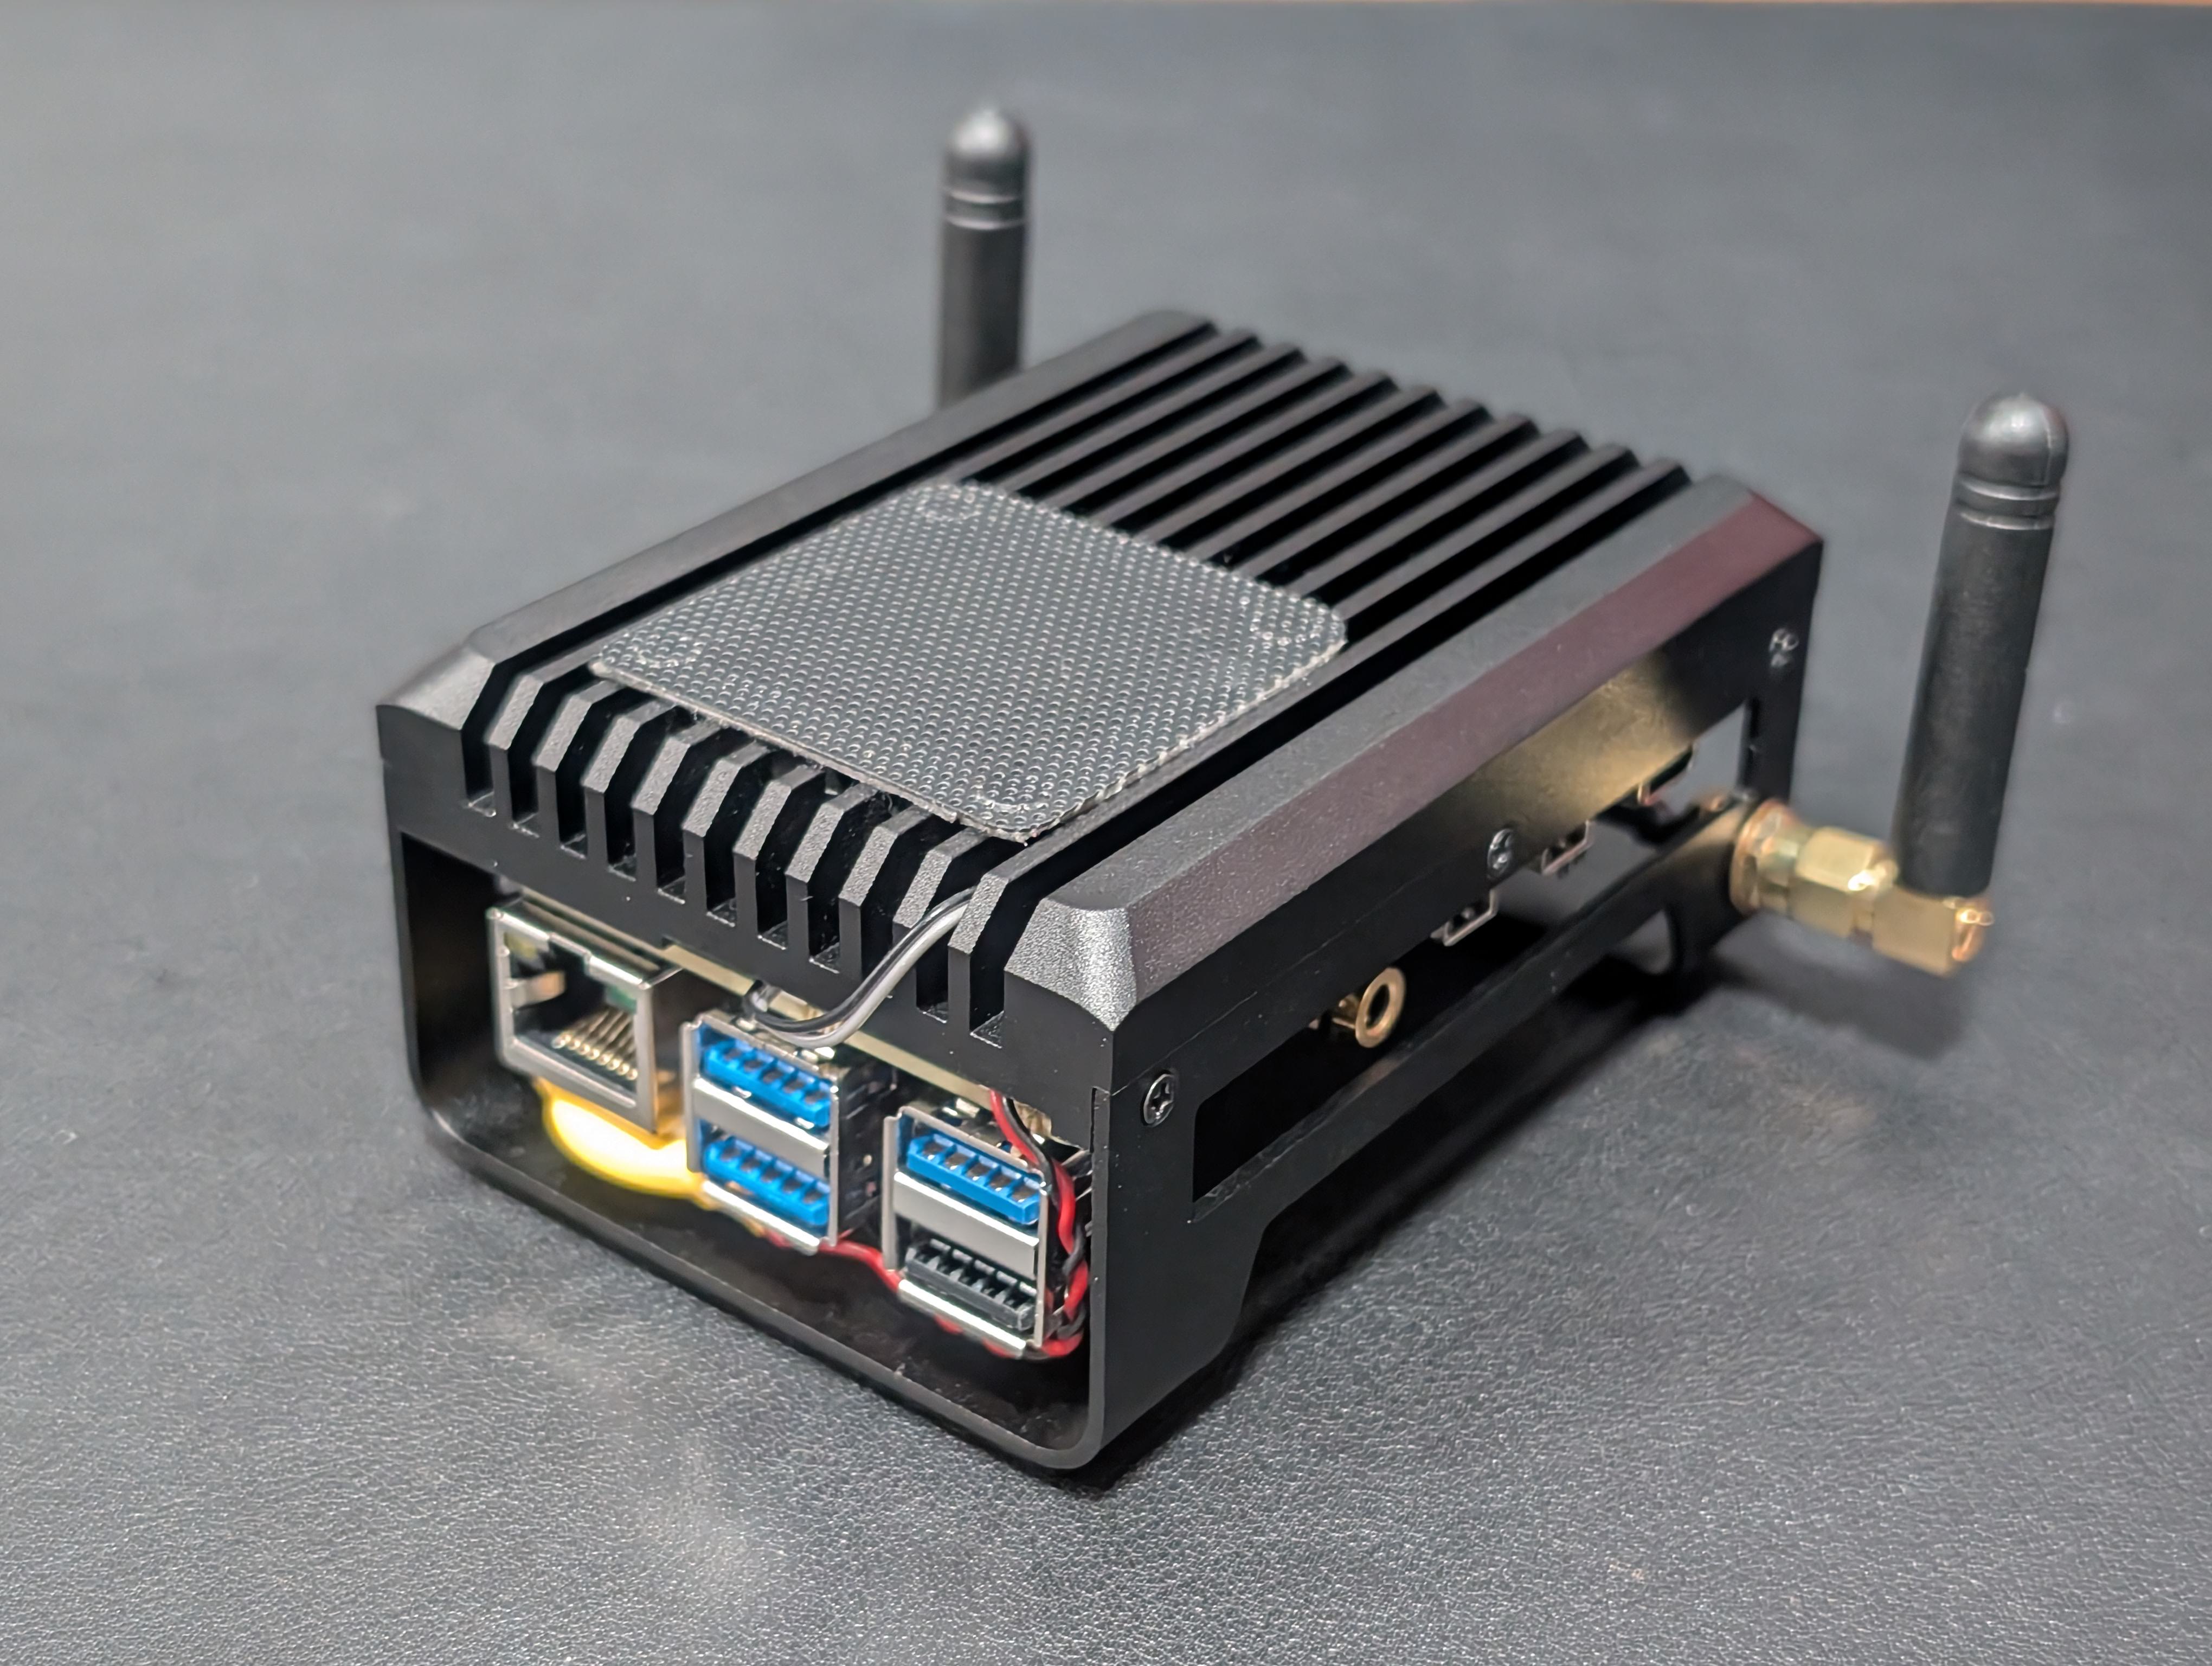
As part of my self-hosted WordPress setup running on a Raspberry Pi 5 with Ubuntu Server, I needed a way to securely SSH into the system from anywhere — without relying on public IPs, complex port forwarding, or exposing my home network. I opted for ZeroTier, a virtual network solution that lets devices communicate as if they’re on the same LAN, even across the internet. In this guide, I’ll walk you through how I connected my Raspberry Pi to ZeroTier, enabled seamless SSH access remotely (even on 4G), and solved a subtle firewall issue that blocked ZeroTier traffic by default. If you’re hosting services like I am, this approach ensures security, flexibility, and peace of mind.

📘What You’ll Learn in This Guide
- ✅ Why ZeroTier is a great choice
- ✅ How to set it up on your Raspberry Pi
- ✅ How to securely SSH into Raspberry Pi using ZeroTier from anywhere
- ✅ How to verify that your SSH session is routed through ZeroTier
🛡️ Why Use ZeroTier?
ZeroTier is a software-defined networking solution that creates a secure, encrypted, and private network over the internet. It functions like a virtual LAN (local network) and lets your devices communicate no matter where they are located — as long as they’re online
🔥 Key Benefits
- Free for up to 25 devices
- Instant secure peer-to-peer communication
- No port forwarding or static IPs needed
- Cross-platform (Linux, Windows, Mac, Android, etc.)
- Ridiculously easy setup
Compared to alternatives like Tailscale or WireGuard, ZeroTier offers generous limits and minimal config out of the box — no need to fiddle with keys or config files.
📝 Prerequisites
- A Raspberry Pi 5 (or any Pi) running Ubuntu Server (I used Ubuntu 24.04.2 LTS)
- Your Pi has SSH enabled and connected to the internet
- A ZeroTier account (free signup)
🔧 Step-by-Step Setup:
✅ 1. Sign Up & Create a Network
- Go to https://my.zerotier.com and sign up.
- Click “Create a Network”
- Note your Network ID (a 16-digit hex string)
✅ 2. Install ZeroTier on the Raspberry Pi
Run this on your Pi terminal:
curl -s https://install.zerotier.com | sudo bashVerify installation:
sudo zerotier-cli statusExpected output:
200 info <your-node-id> 1.14.2 ONLINE✅ 3. Join Your Private ZeroTier Network
Replace YOUR_NETWORK_ID with your actual network ID:
sudo zerotier-cli join YOUR_NETWORK_ID

Eg. sudo zerotier-cli join 1234543210a1b234
✅ 4. Authorise the Pi from the ZeroTier Web Dashboard
Back on https://my.zerotier.com:
- Go to your network
- Under Members, find your Raspberry Pi’s Node ID
- ✅ Check the “Authorized” box
- Optional: Give it a static IP like
10.147.20.5underManaged IPs
Back on your Pi, check the assigned ZeroTier IP:
sudo zerotier-cli listnetworksOutput:
200 listnetworks <nwid> <name> <mac> <status> <type> <dev> <ZT assigned IPs>
200 listnetworks abcdef1234567890 my-zt-network 00:11:22:33:44:55 OK PRIVATE ztabcdefgh 10.147.20.5/24That’s the IP you’ll use to SSH into your Pi.
🖥️ SSH into Raspberry Pi with the ZeroTier IP
From your laptop (also joined to the same ZeroTier network):
ssh pi@10.147.20.5
Or whatever username you use (ubuntu, admin, etc.)
✅ If you’re connected, you’re securely inside your own virtual LAN.
🔍 Confirm the SSH into the Raspberry Pi with ZeroTier IP
✅ Method 1: Check Login IP
On the Pi, run:
who
Expected output:
pi pts/0 10.147.20.5 16:42 00:00:01 sshd: pi [priv]
Or run:
w
To see connected sessions with originating IPs.
✅ Method 2: Use ss to View Connection
ss -tnp | grep ssh
Look for something like:
ESTAB 0 0 10.147.20.5:ssh 10.147.20.5:54022
The 10.147.x.x confirms you’re in the ZeroTier mesh.
✅ Method 3: Check SSH History
last -a | grep ssh
This shows previous SSH logins with IPs. Again, you’re looking for the ZeroTier-assigned IP.
🧼 Optional: Enable ZeroTier on Boot
To ensure ZeroTier starts automatically after reboot:
sudo systemctl enable zerotier-one
✅ Optional: Add Firewall Rules
SSH to Raspberry Pi’s ZeroTier IP (10.147.20.5) failed when i was accessing outside the local network, like on 4G — despite working fine on the same LAN.
🎯 Cause: Failure to SSH into Raspberry Pi with ZeroTier
The Ubuntu firewall (UFW) on the Pi was blocking SSH requests from outside the LAN, even from the ZeroTier virtual network interface.
🔧 Fix: SSH into Raspberry Pi with ZeroTier outside of LAN
Add a rule to explicitly allow SSH traffic from the ZeroTier subnet:
sudo ufw allow from 10.147.20.5/24 to any port 22
✅ After this, ZeroTier-based remote SSH worked perfectly — even over mobile data.
🚀 Conclusion: SSH into Raspberry Pi Easily with ZeroTier
Using ZeroTier on your Raspberry Pi 5 running Ubuntu is an excellent way to enable secure, encrypted SSH access from anywhere — without the headache of dynamic IPs or port forwarding. It’s ideal for self-hosted setups like your WordPress server, remote maintenance, or even running your own VPN-less mesh network.

